[鐵人賽Day19] 實作一個即時投票系統 (4) - 建立投票列表
文章目錄
今天我們要來做投票列表,概念跟Day11的上線名單一模一樣,忘記的可以去回顧一下,那麼我們就開始吧!
建立列表HTML元素
我們先把voteMenu區塊設成顯示,改成voteFrom區塊隱藏
<div id="voteRoom" style="display:none">

</div>
<!-- 所有投票選單 -->
<div id="voteMenu">

</div>
<!-- 新增投票區 -->
<div id="voteForm" style="display:none">

</div>
建立一個select 元素當作列表,記得加入multiple讓它展開,寬和高有訂一下,再來是2顆Button,一顆進入建立投票的頁面,一顆進入選擇的投票房間頁面。
<button id="creatVote" type="button">建立投票</button>
<br>
<select id="selVote" multiple style="height:200px;width:100px">
</select>
<br>
<button id="goVote" type="button">進入投票</button>
建立頁面切換事件
var creatVote = document.getElementById('creatVote');
var goVote = document.getElementById('goVote');
建立後端取得投票資料方法
先到Hub建立取得方法,注意這邊取得時只要回傳給要求的用戶就好,不要全部都傳,不然會造成一個新的使用著上線想取得所有投票方法,每個人都全部丟一次資料,但是資料並無更新,所以這邊沒有這種必要。
public async Task GetVoteList()
{
    await Clients.Caller.SendAsync("ReceiveVoteList", _voteService.GetVoteList());
}
當連線成功時取得資料
連線時取得資料,當然要寫在連接成功後的事件,也就是connection.start().then()裡面,其實day17已經寫過了,但是那天寫的是只取得該筆投票,這次是全部投票所以要改用上面新寫的方法,之前的GetVote記得移除。
connection.start()
.then(function () {
    connection.invoke("GetVoteList").catch(function (err) {
        return console.error(err.toString());
    });
})
.catch(function (err) {
    return console.error(err.toString());
});
取得成功後先清空頭票選單,再binding到我們建立的select元素中,完成後返回投票選單,返回投票選單這邊是因為跟建立投票一樣的事件,如果你在建立投票表單的話則會切換回頭票選單。
connection.on("ReceiveVoteList", function (json) {
    selVote.innerHTML = '';
    for (var i = 0; i < json.length; i++) {
        var sel = document.createElement('option');
        sel.innerHTML = json[i].voteName;
        sel.value = json[i].voteName;
        selVote.appendChild(sel);
    }
    // 如果在建立投票頁面,則切換回投票選單
    if (voteMenu.style.display === 'none'){
        voteForm.style.display = 'none';
        voteMenu.style.display = '';
    }
});
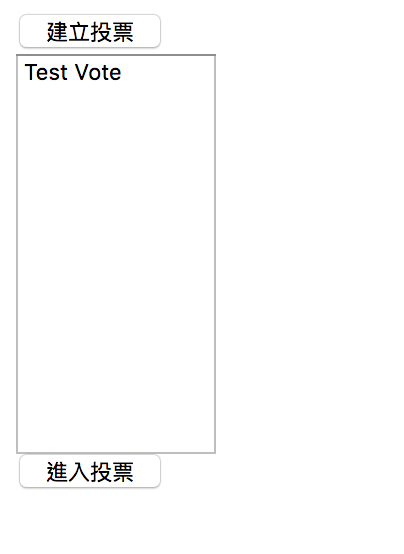
成功後結果,你會再選單內看到之前建立的測試投票
今天就大概這樣,下一篇就是最後的頁面了。